2.3 Groups and Groupings
3. Groups and Groupings
3.1 About Groups and Groupings
l Groups
Enrolled Users can be divided into groups within the course. Once groups have been created in a course, then they may need to be assigned into grouping (see the 'grouping' part). Grouping can be set for particular course activities, such as Forums and Assignments.
l Groupings
If you want to make an activity (such as an assignment or a quiz) visible to only one set of users within a course, you need first to put the users into a group and then put them into a grouping. A single grouping can house one group or several groups.
Why uses groups and groupings?
· If you are a teacher in a course where you have several classes and you want to filter your activities and gradebook so you only see one class at a time.
· If you are a teacher sharing a course with other teachers and you want to filter your activities and gradebook so you don't see the students from your colleagues' classes.
· If you want to allocate a particular activity or resource to just one class or set of users and you don't want others to see it. (See Groupings)
NOTE:an activity cannot be linked to a group. Only groupings can be linked to an activity.
3.2 Creating Groups
Follow the steps below to create groups in a course.
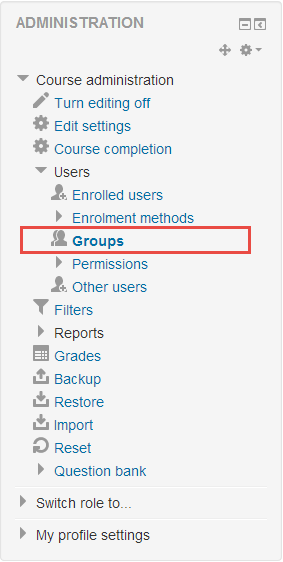
1. Click the 'Users' link to expand the menu in the Administration block, and then click the 'Groups' link.
2. Click the 'Create group' button to create a new group.
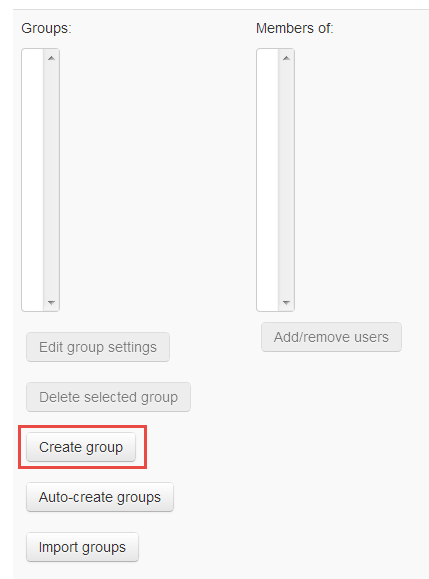
The Groups tab appears containing two columns. The left column displays group names (initially empty). The right column will display a list of the assigned group members.
3. Please follow these steps to configure the options for groups:
1. Enter a required name in the 'Group name' filed.
2. Enter an 'Enrolment key' if you require users with this group enrolment key to be assigned to this group.
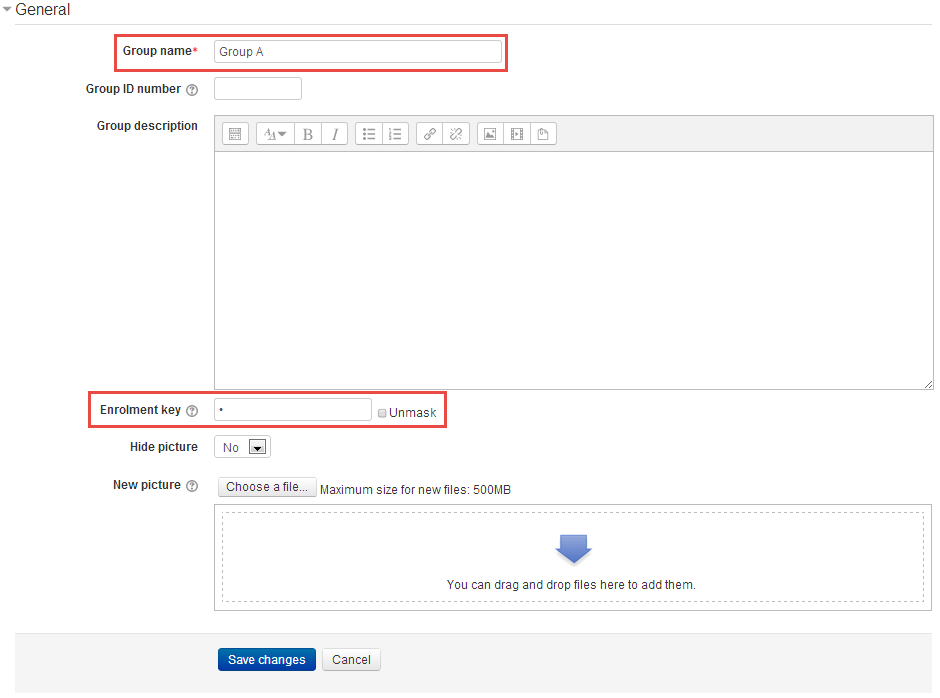
Note:An enrolment key for the course must be specified in the self-enrolment settings. Group enrolment keys need to be specified in the group settings. When a user finishes the enrolment process with group enrolment key, they will automatically be assigned to the group. If they only enter the course enrolment key, they will not be assigned to the group.
3.3 Adding Users to Groups
Option 1- The total number of enrolled users is below 100
Use this option when the total number of users enrolled in the course is below 100 and/or when you want to search for one or more users to add to groups.
Follow these steps to add users to a Group.
1. Click the 'Users' menu in the Administration block to expand the sub-menu, and then click the 'Groups' link.

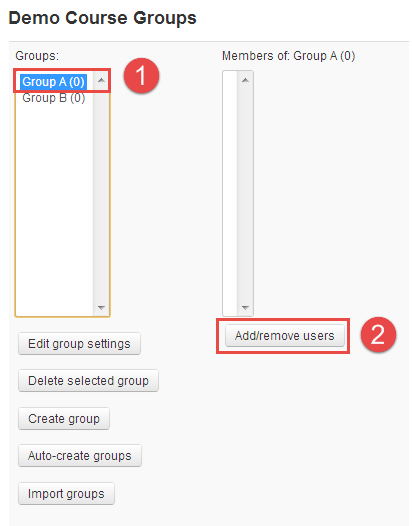
2. Click the group name to choose a particular group on the left, and then click the 'Add/remove users' button in the Members of Group Column on the right.
3. Click the name of a student in the 'Potential members' column on the right (You can select more than one user by holding Ctrl and clicking several names one by one), and then click 'Add' button to add the selected student(s) to the "Group members” list.
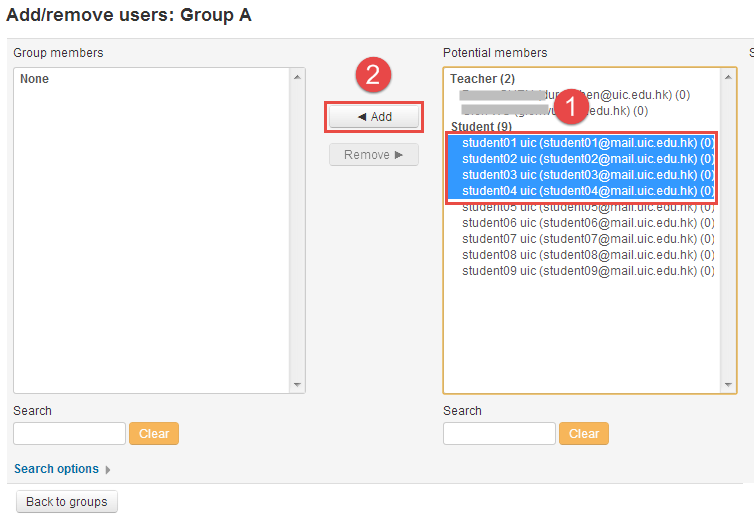
To remove user(s) from the Group members list, just click the user(s) and then click the 'Remove' button.
4. Click 'Back to groups' when you have completed adding users to group.
Option 2 - More than 100 users in your course
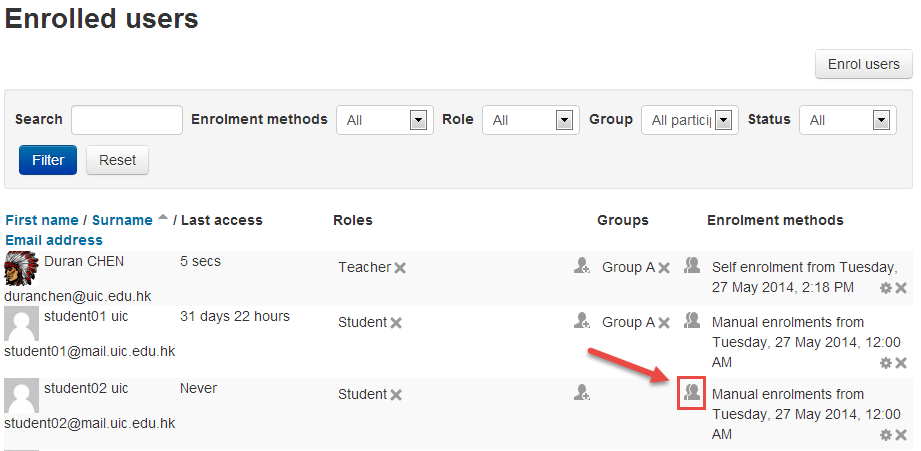
When there are more than 100 users in your course, iSpace will display too many users (xxx) to show in the Potential members list. In this case, you will need to use the search function to add individual users to the group. Alternatively, you can assign users to a group by selecting from the list of Enrolled users.
1. Click the 'Users' in the 'Administration block' to expand the menu, and then click 'Enrolled users'. A list of current users, if any, will be displayed.

2. Click the '' button within the 'Groups' column to add the user to group.
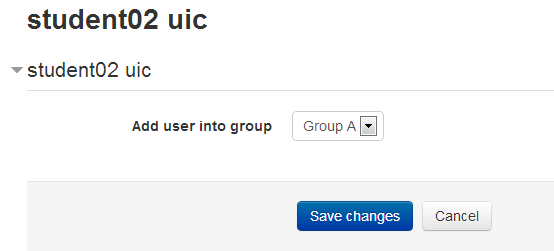
3. Select the group from the 'Add user into group' drop-down menu, then click the 'Save' button to add the user to the group.
3.4 Creating Groupings
1. Click the 'Users' link to expand the menu in the Administration block, and then click the 'Groups' link.

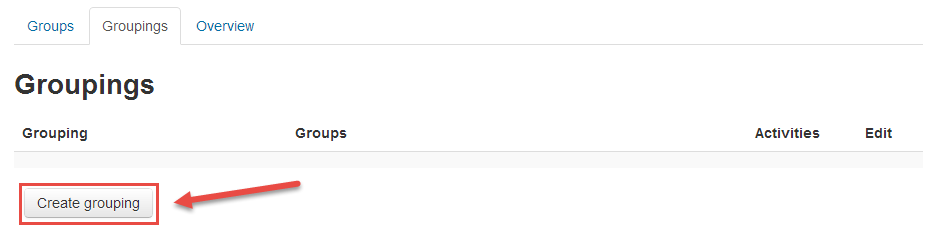
2. Click the 'Groupings' tab to create a new grouping.
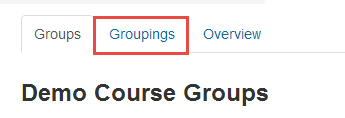
3. Click the 'Create grouping' button to start creating groupings.
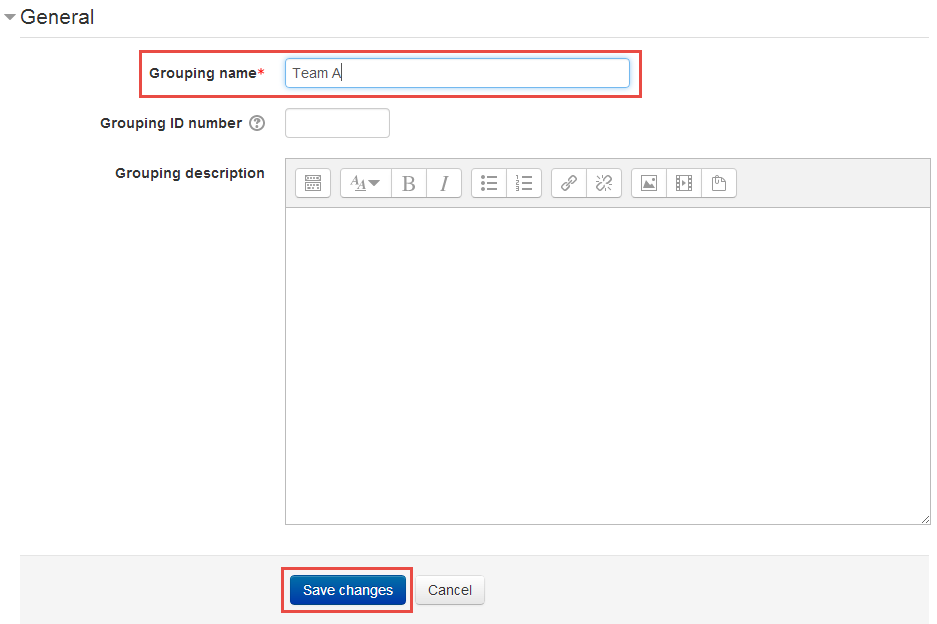
4. Type a name in the 'Grouping name' field, then click the 'Save changes' button.
3.5 Selecting grouping in activity
To use a particular grouping in an activity,please follow the steps below.
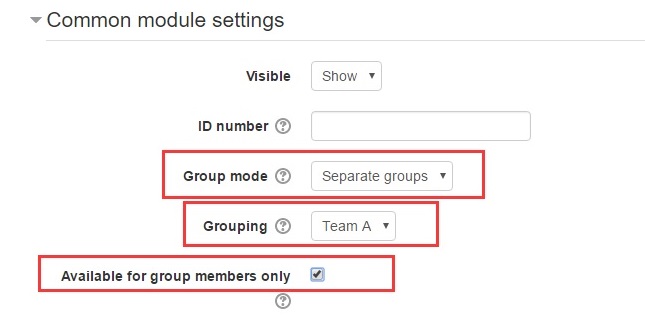
In the 'edit settings' page of an activity, click the 'Common module settings' to expand the settings.
1.Make the group mode to separate or visible groups.
2.Select the grouping from the grouping dropdown menu.
Note: Students will only see the activities they have been assigned to. Teachers will see the name of the grouping between brackets after the activity name on the course page.Click the Group icon () in the Edit column to add groups to the grouping.