1.3 Adding Resources to Your Course
3.1 Entering your course
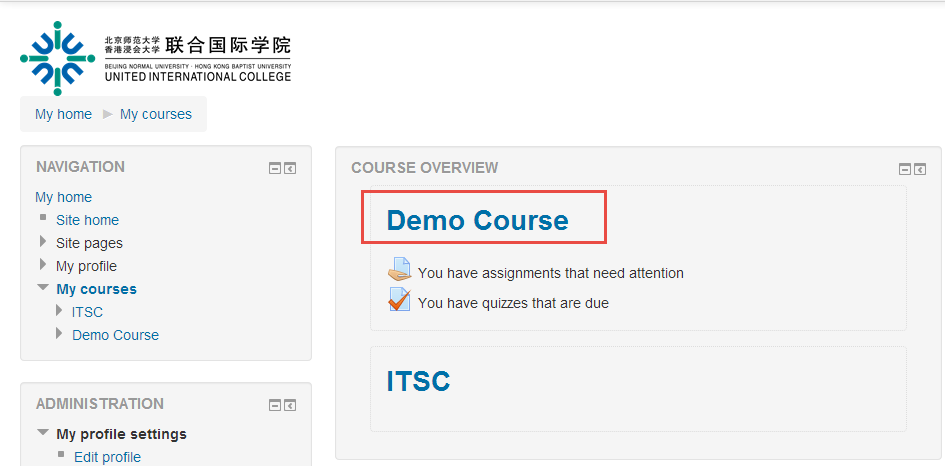
1.Click the course name on the ‘My Home’ page.
2. Click the “Turn editing on” button to switch course into editing mode.

3.2 Adding Files
You can upload a file (Word Document, Excel Spreadsheet, PowerPoint, and PDF) to your course by either dragging it directly to your course page or by uploading it using ‘Add an activity or resource’ dialogue box.
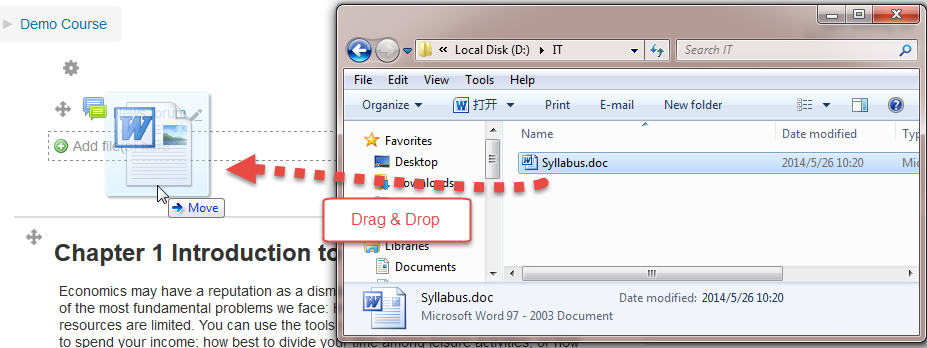
Option 1 - Drag and Drop
- Make sure your course is editing mode, if it is not, please click the ‘Turn editing on’ button at the top right of the course page.

- Drag the file from your computer to the section of the course page where you want the file to be listed. When a dotted box appears, drop the file into the box.
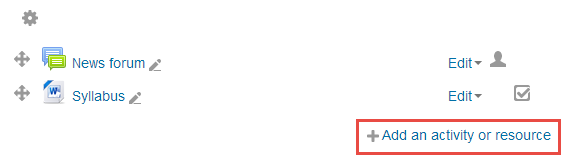
Option 2 -Adding file by 'Add an activity or resource' dialogue box.
- Make sure your course is editing mode, if it is not, please click the ‘Turn editing on’ button at the top right of the course page.

- Click the “Add an activity or resource” button.
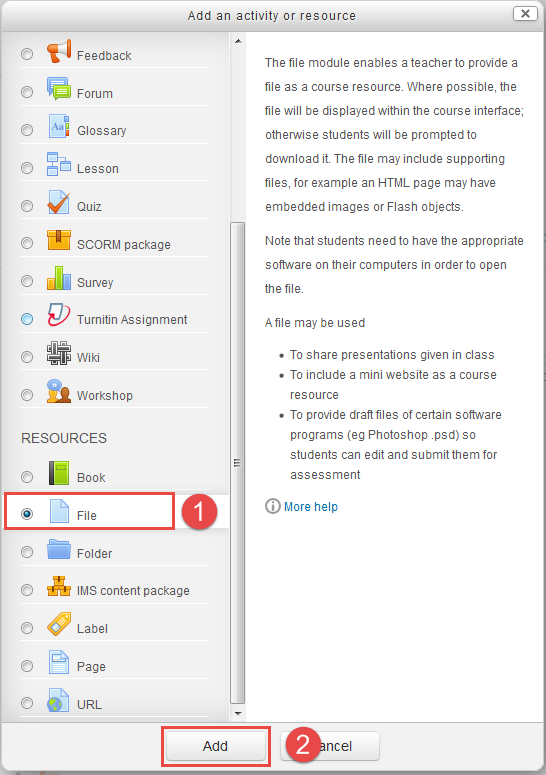
- Choose Recourse type: File in the pop-up window, then click ‘Add’ button. The settings will be presented.
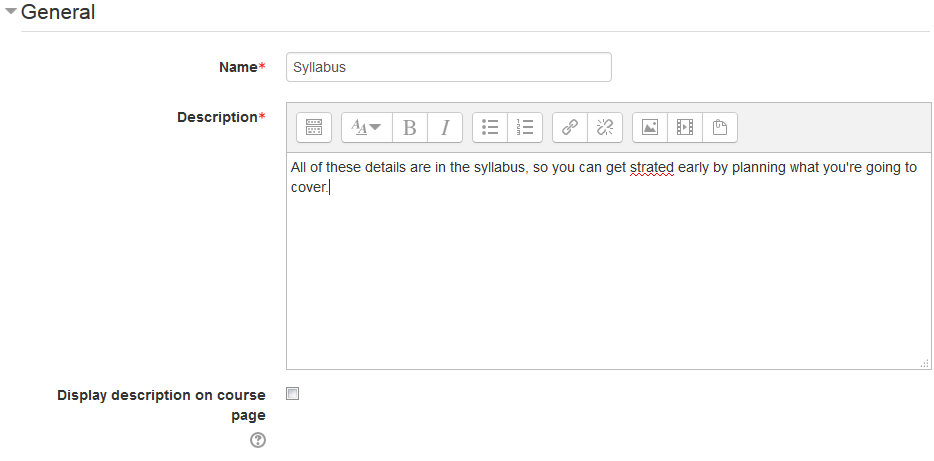
- Enter the name and complete the description fields.
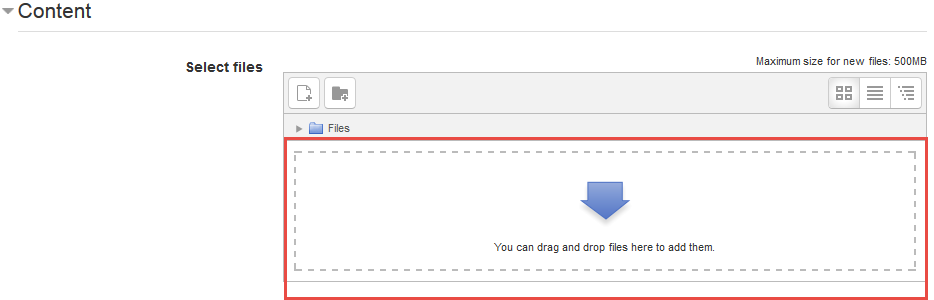
- In the ‘Content’ area, you can drag the file from your computer and drop it in the marked area (dashed rectangle);
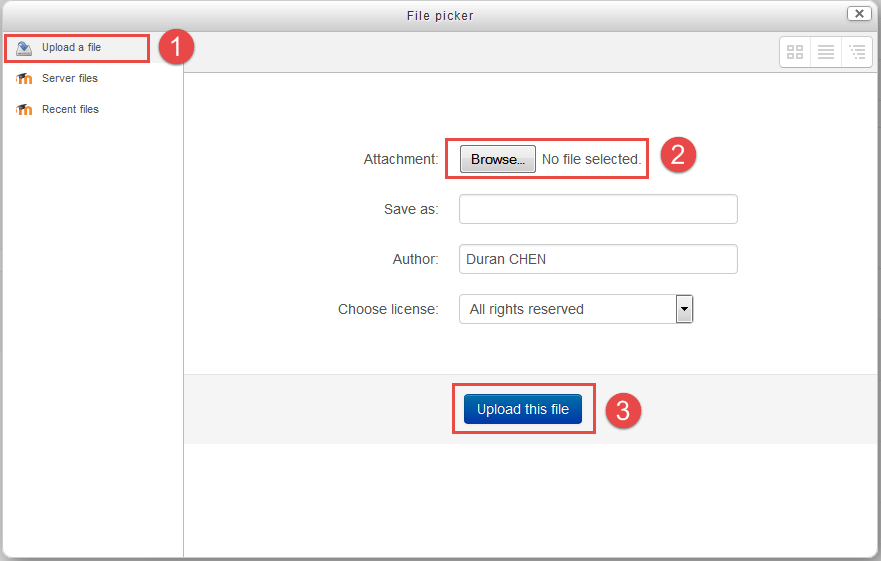
Or click the ‘add’ button () to open the file pick, and choose file from your computer, then click the ‘upload this file’ button.
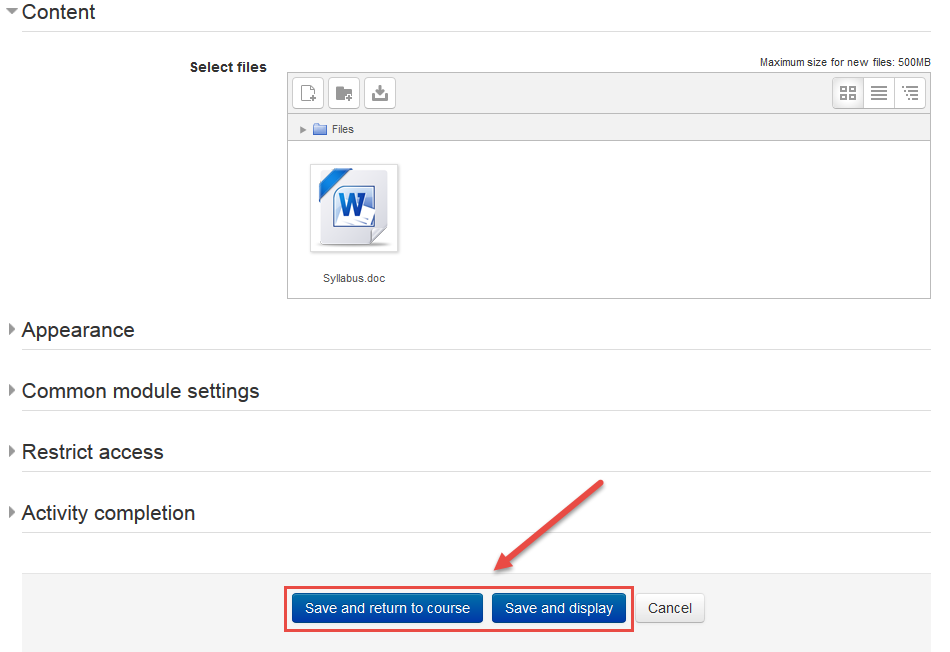
- Click 'Save and return to course' or 'Save and display 'button.
3.3 Adding Folders
If you want to make several files available to students in your course, a folder is the best choice. You can upload a folder to your course by uploading it using the ‘Add an activity or resource’ dialogue box.
- Click 'Turn editing on' at the top right of the course home page.

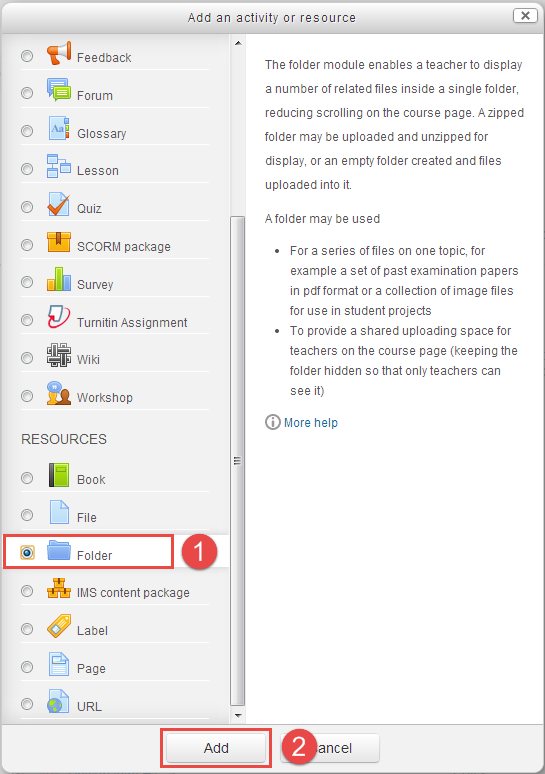
- Click "Add an activity or resource” button.

- Select 'Folder' in the pop-up windows, and then click 'Add' button. The settings page will be presented.
- Complete the name and description fields, same as 'add file settings'.
- On 'Content' area, you can do one of the following to add a file, same as 'add file settings'
- Drag files from your computer and drop them in the marked area (dashed rectangle).
- Click 'add' button (
 ) to open the file pick, and choose file from your computer, then click 'upload this file' button.
 - Click 'Save and return to course' button.